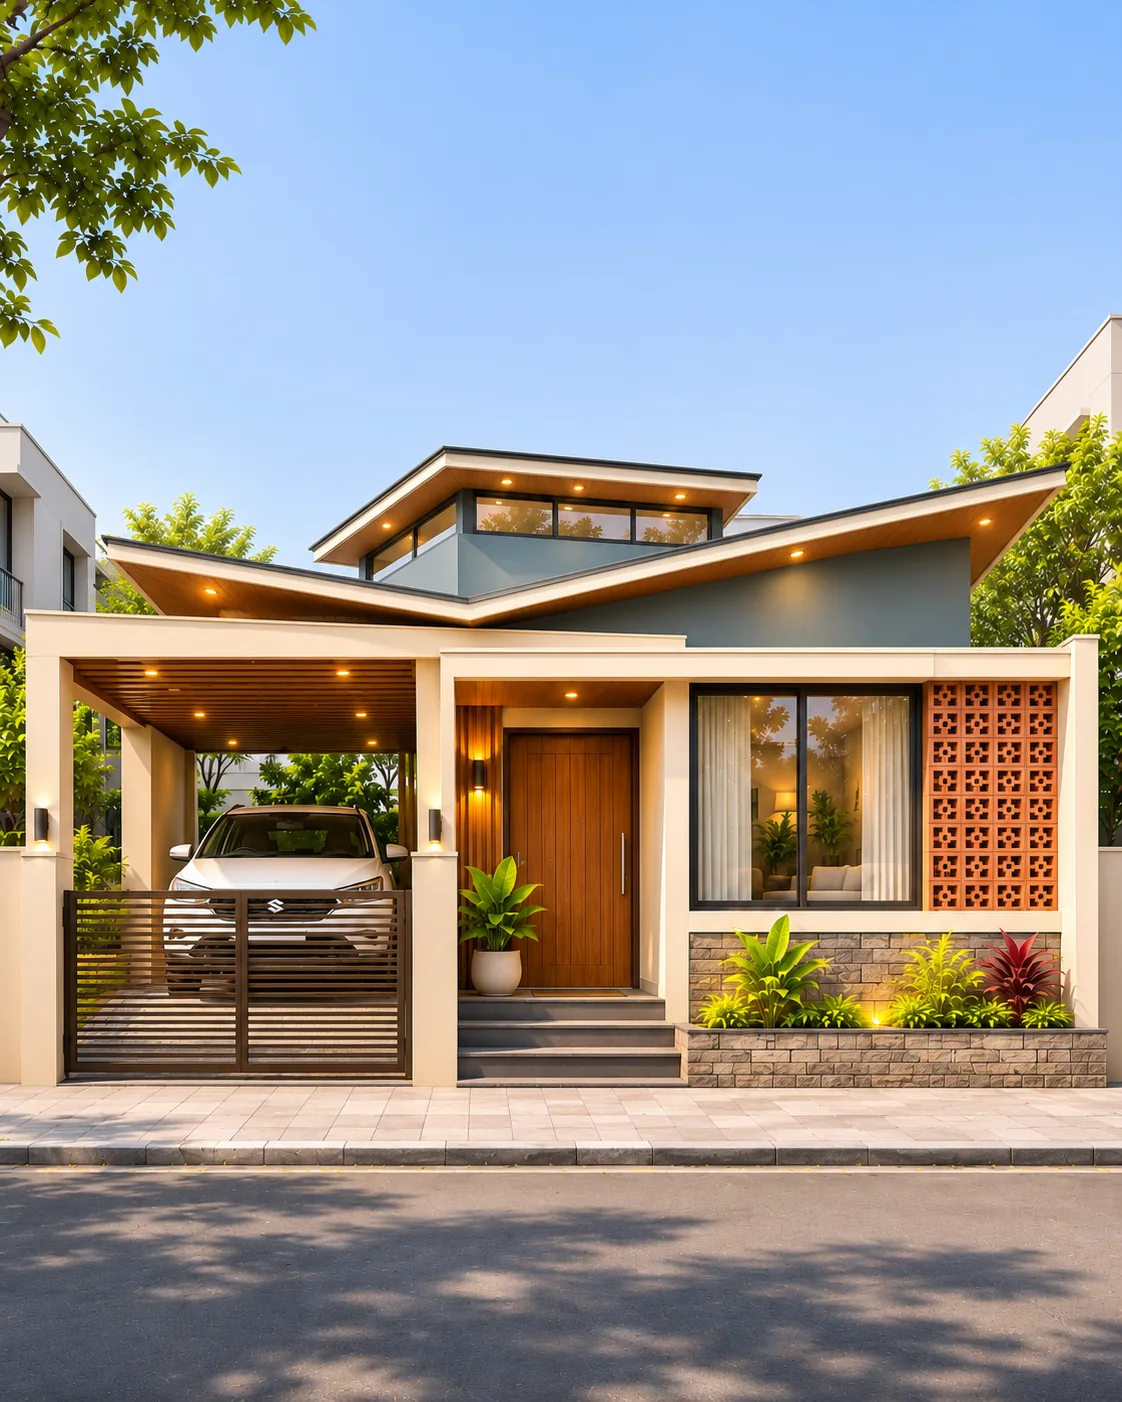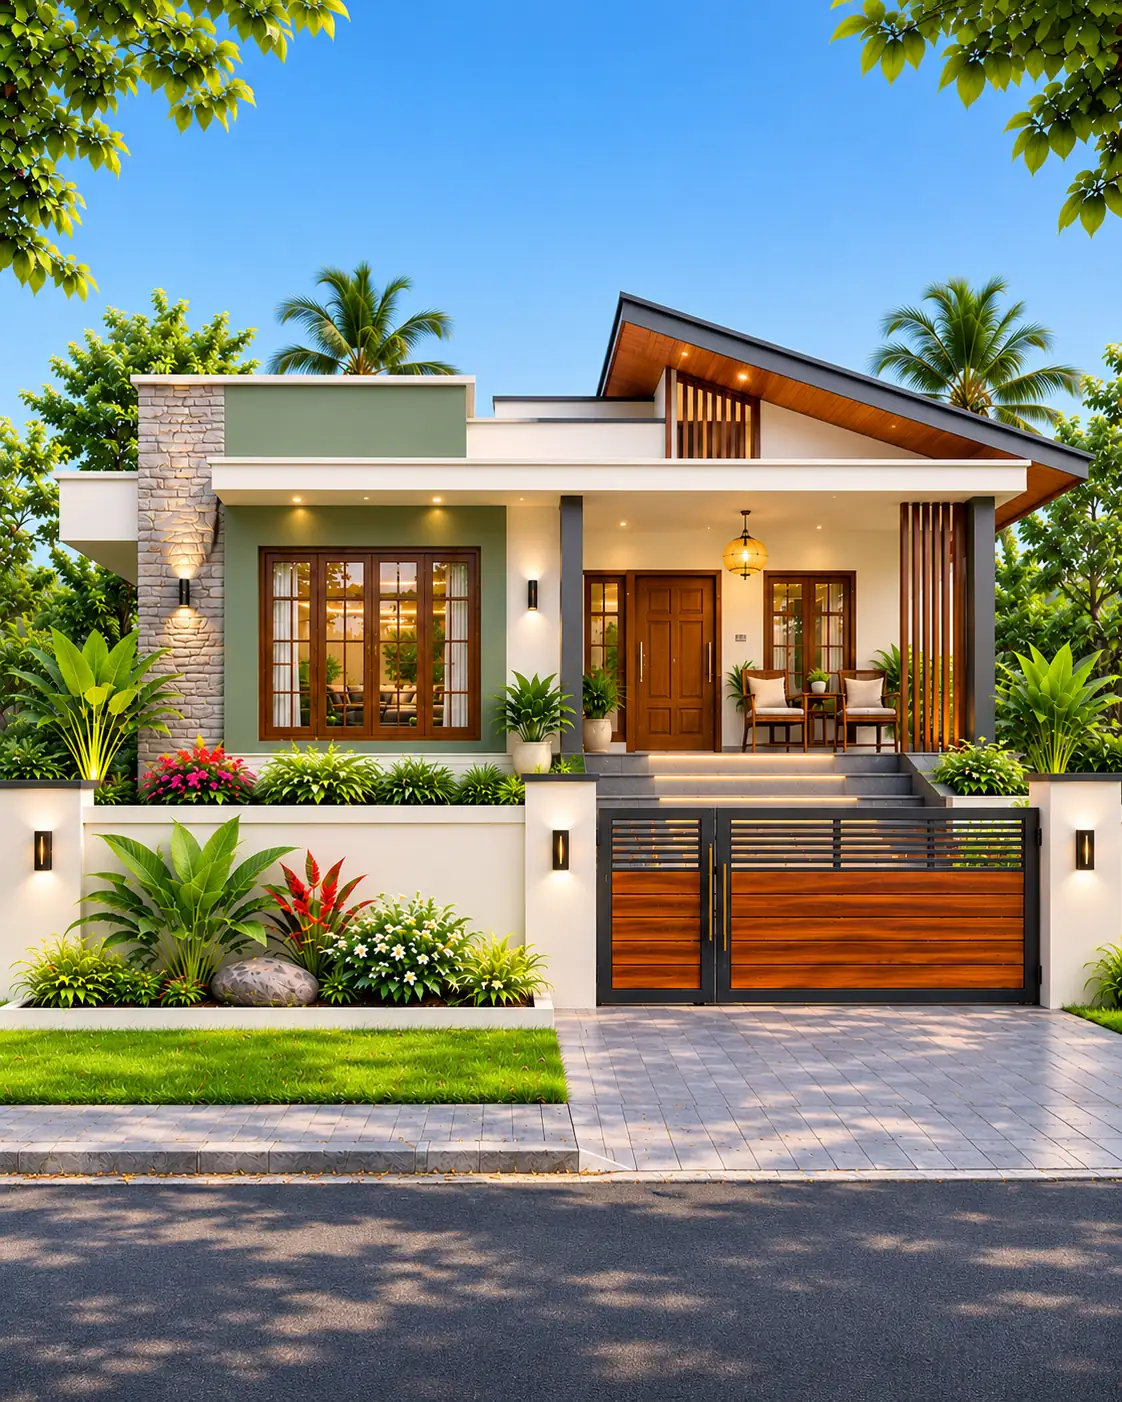

Ground Floor · Grand Indian bungalow
A grand bungalow built around its roof and front veranda
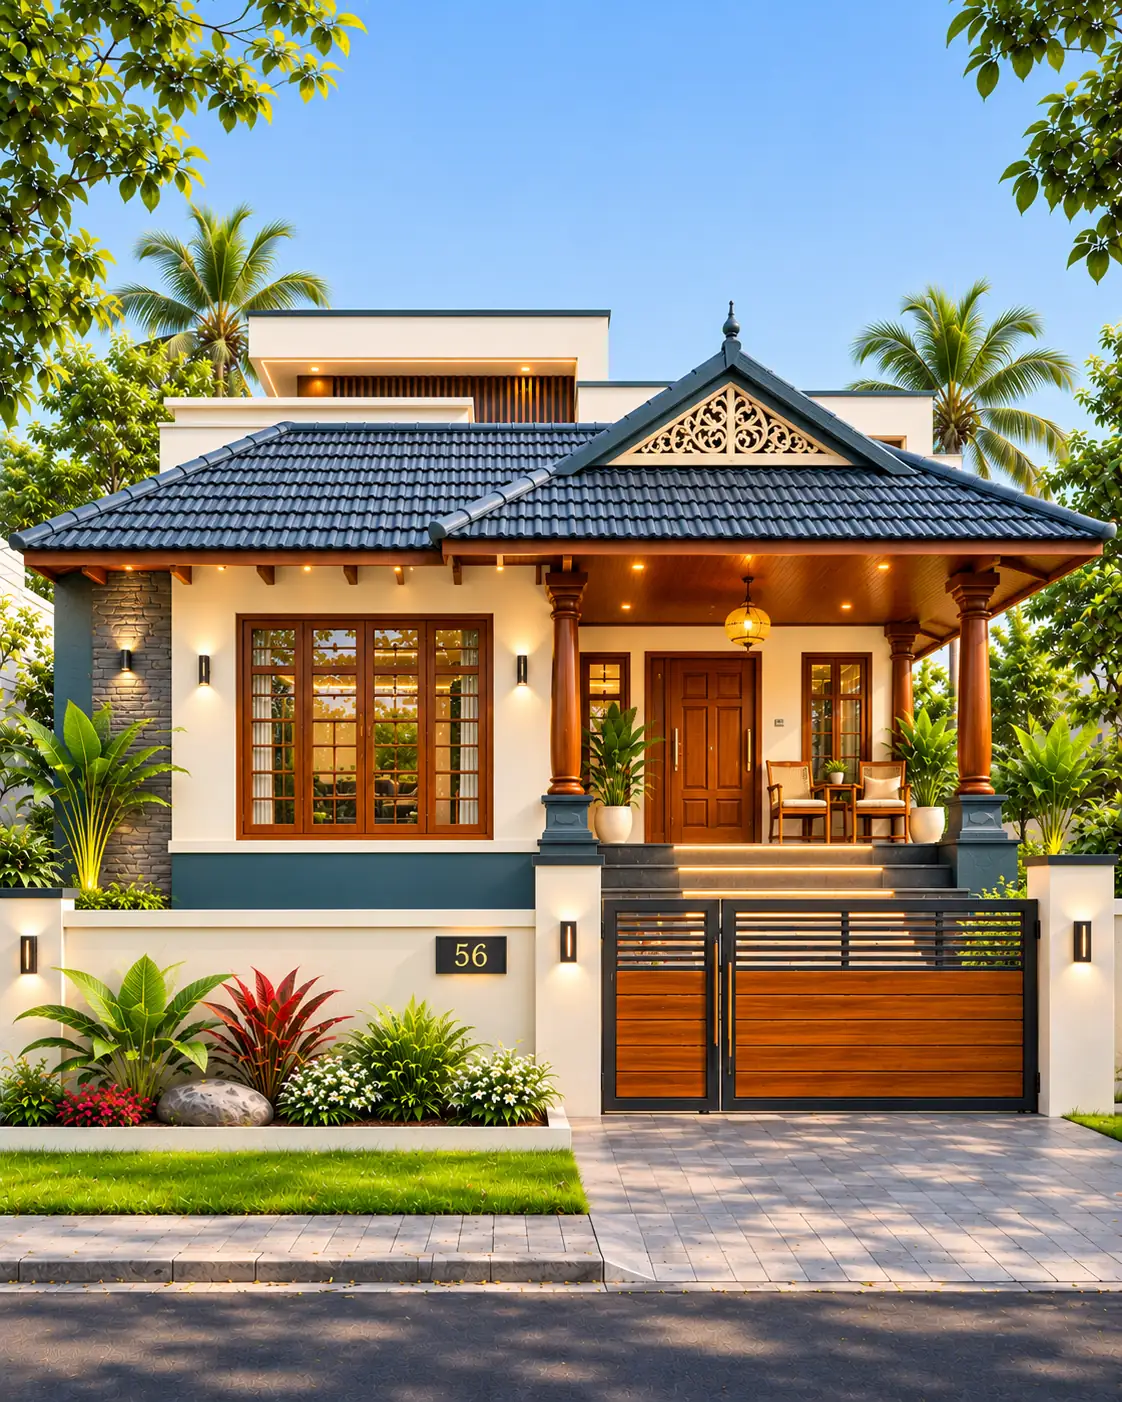
This design takes its scale from the roof rather than an extra floor. The main hipped roof rises above a central porch, with smaller tiled sections stretching across both wings. From the street, the layered roofline makes the bungalow feel substantial while leaving room for a wide entrance, open sitting veranda and sheltered parking.
A pair of charcoal stone-clad columns marks the front door. Between them are timber double doors, a hanging lantern and broad steps that run down to the paved forecourt. On the left, the veranda is furnished for sitting outside; the right wing ends in a covered carport. Muted plum panels keep the cream and dark-stone palette from looking like another all-white house.
Design choices
Give the roof a strong, layered outline
Several hipped tile-look roofs overlap above the long frontage. Their different heights help the central porch stand out, but they do not establish another habitable storey.
Make the entrance feel ceremonial
The raised approach, stone-clad columns and warm timber doors create a clear focal point. A detailed screen above the canopy adds texture without hiding the entrance.
Separate veranda living from vehicle access
The left wing opens to an outdoor sitting area with chairs and glazed doors, while a covered parking bay sits on the right. Neither has to dominate the main entrance composition.
Why this is a bungalow rather than a G+1 house
The illustration shows one primary occupied level under a collection of high pitched roofs. The roofs can make the home appear tall, but a higher roof is not proof of a first-floor apartment or bedroom wing. We have therefore placed it in HouseFolio's Ground Floor category instead of claiming a G+1 plan that the artwork does not show.
If a buyer wanted to adapt this concept into a two-level bungalow, a new design would be needed for stairs, upper rooms, roof geometry and structure. The current images provide no measured cross-section, room count or approved storey count.
The wide entrance and covered outdoor room
The centre of the facade is unusually generous. Broad stone-look steps rise to double timber doors with narrow sidelights. The porch ceiling reads as timber, with a lantern below the decorated eave screen. Small potted plants and dark stone column bases soften the tall porch without making it look fussy.
The left-hand veranda is set up for everyday use. Its furniture, sheltered ceiling and large glazed doors suggest somewhere to sit in the evening, close to the garden but protected from direct sun. Exact veranda depth, rain protection and drainage need to be resolved on a real plan.
Plum accents, stone and an olive-green option
Plum-coloured infill panels on the columns and side walls give the main version a distinct identity. Cream surrounds lighten the roof edges, while the grey stacked-stone bases connect the columns to the entrance steps and boundary planting. Warm timber details stop the palette feeling cold.
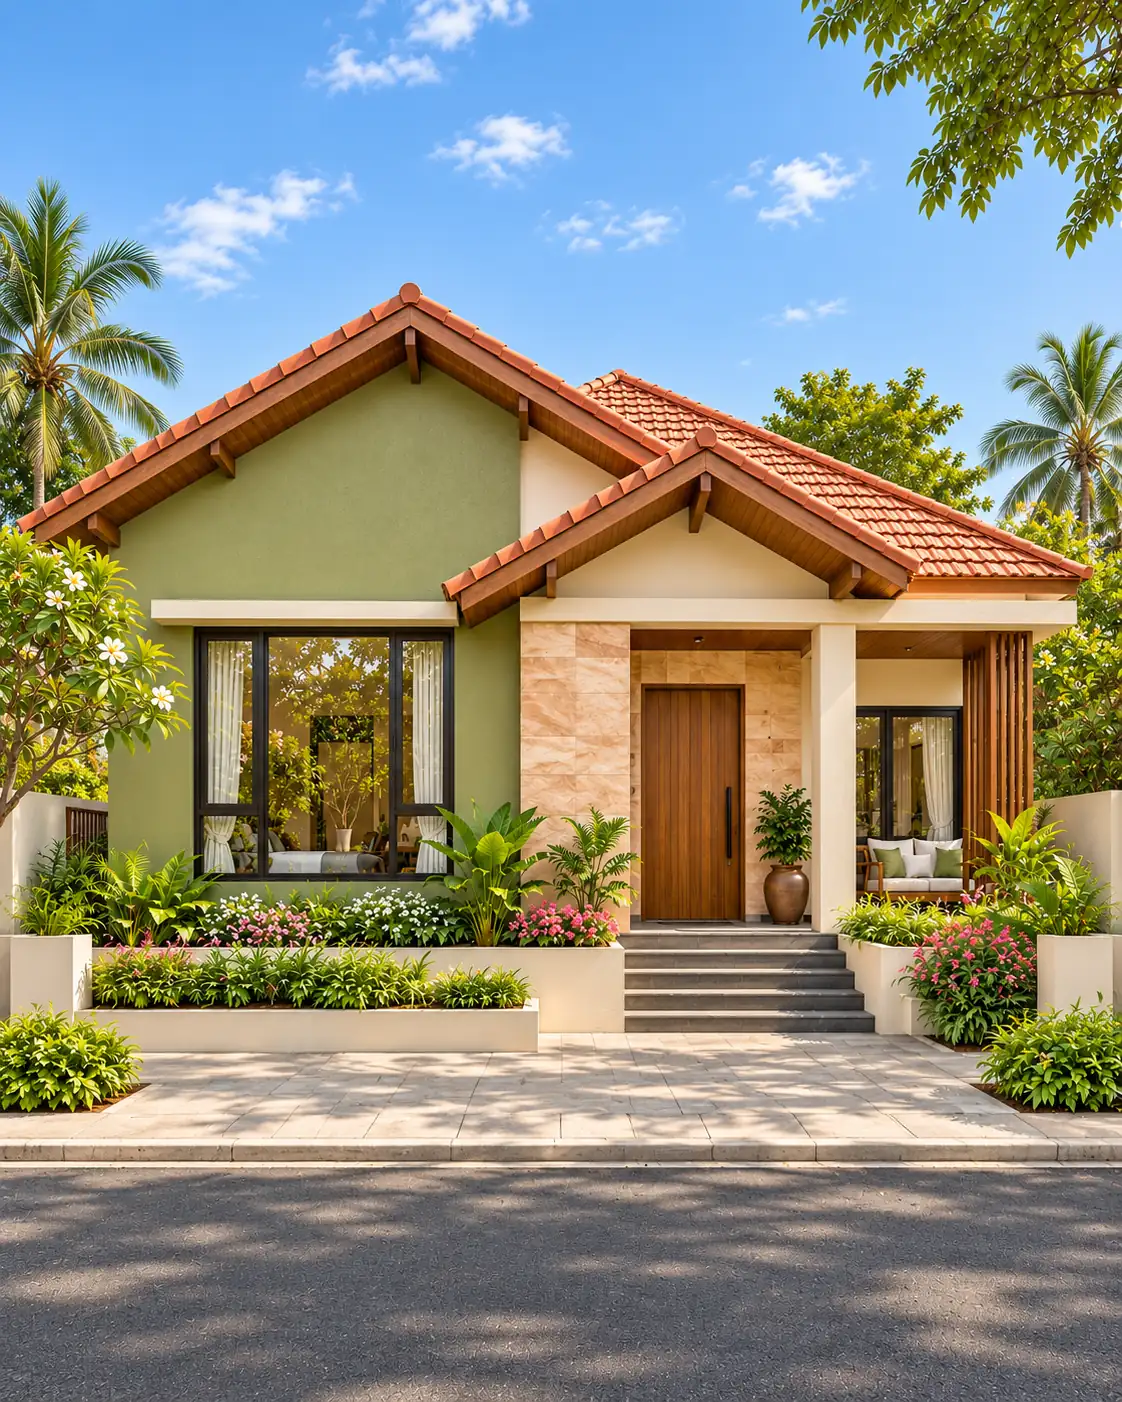
The third image keeps the porch, steps, left veranda and right carport but changes the painted accents to olive green and shifts the roof-tile finish towards a warmer brown. It is a facade finish study of the same general form, not a second floor plan.
A matching night view of the approved house
The night image follows the daytime frontage closely. The car remains under the carport on the right, the veranda furniture stays to the left, and the central lantern hangs between the two stone columns. Warm light through the windows and the entrance highlights the long roof eaves.
Low lights near the planted beds and steps make the entrance more legible after dark. In a built project, lighting would need outdoor-rated fittings, safe wiring and thoughtful positioning to avoid glare across the driveway or into the rooms.
What a real site would need
The wide frontage, carport and generous forecourt suggest a site with room to spread out. The design cannot responsibly be described as suitable for a 30-by-40-foot plot, or any other precise size, because there are no dimensions. A measured survey and access plan must come first.
Pitched roof drainage, wind loads, thermal performance, veranda waterproofing, entrance accessibility and parking manoeuvring all need professional design. The render is useful for exploring proportions and materials, not for replacing construction documents.
Before adapting this design
- Check site frontage and setbacks before adapting the broad roof, porch and right-hand carport.
- Prepare measured ground-floor layouts; the images do not show bedroom count, bathrooms or circulation.
- Engineer roof trusses, support points, gutters, flashing and stormwater disposal for the layered hipped roofs.
- Check the number and height of entrance steps and provide an appropriate accessible route if required.
- Verify safe driveway turning, carport headroom and vehicle access without crossing the veranda seating area.
- Specify durable exterior finishes for tiled roofing, exposed stonework, timber-look soffits and screen details.
- Plan practical drainage at the porch, paving, landscape beds and covered veranda.
- Confirm local planning permissions and construction costs with qualified professionals rather than reading them from the illustration.